Guide: Replacing a 07-13 Chevy Silverado 1500 Wheel Bearing
Replacing the wheel bearings in your 07-13 Chevy Silverado 1500 can seem daunting, especially for owners who have never done it before. But you’ll need to replace them eventually—and learning how to do it yourself is far cheaper than paying a mechanic for the job. Fortunately, replacing your Silverado’s wheel bearings can be easier than you think, as long as you know what to do and how to do it. That’s where we come in.

Replacing Your 07-13 Chevy Silverado 1500 Wheel Bearing? This is the part you need!
View productImage does not represent actual product
We’ve been making high-quality aftermarket wheel bearings for Chevy Silverados and other vehicles for years, so we know exactly how these critical components need to be installed for safe and effective use. Read the step-by-step guide below so you can perform this essential maintenance task on your own and keep your truck’s wheels in great shape.
Required Equipment
- 2007-2013 Chevrolet Silverado 1500 wheel bearing & hub assembly
- A floor jack
- Jack stands
- A new Chevy Silverado 1500 hub bearing assembly
- A lug wrench
- 15mm, 18mm, & 19mm socket and ratchet wrenches
- A breaker bar
- A T30 Torx driver
 Via ChevroletForum
Step 1: Jack Up the Truck
Using your lug wrench, loosen the lug nuts on your Silverado’s wheels. Then use your floor jack to raise the truck off the ground and mount it on your jack stands.
 Via
Via 
Step 2: Remove the Brake Assembly
Take your 19mm socket and ratchet wrench and use it to remove the bolts that hold your brake calliper in place (there should be two of them).
Next, use the 18mm socket to take the calliper bracket off. Then remove the Torx screw that secures the rotor with your T30 Torx driver.
Step 3: Remove the Rest of the Wheel Hub
There are three 15mm bolts that hold your wheel hub in place. Use your 15mm socket and ratchet to remove these, using your breaker bar if necessary.
Before pulling the wheel hub off, make sure to remove the ABS wiring sensor as well.
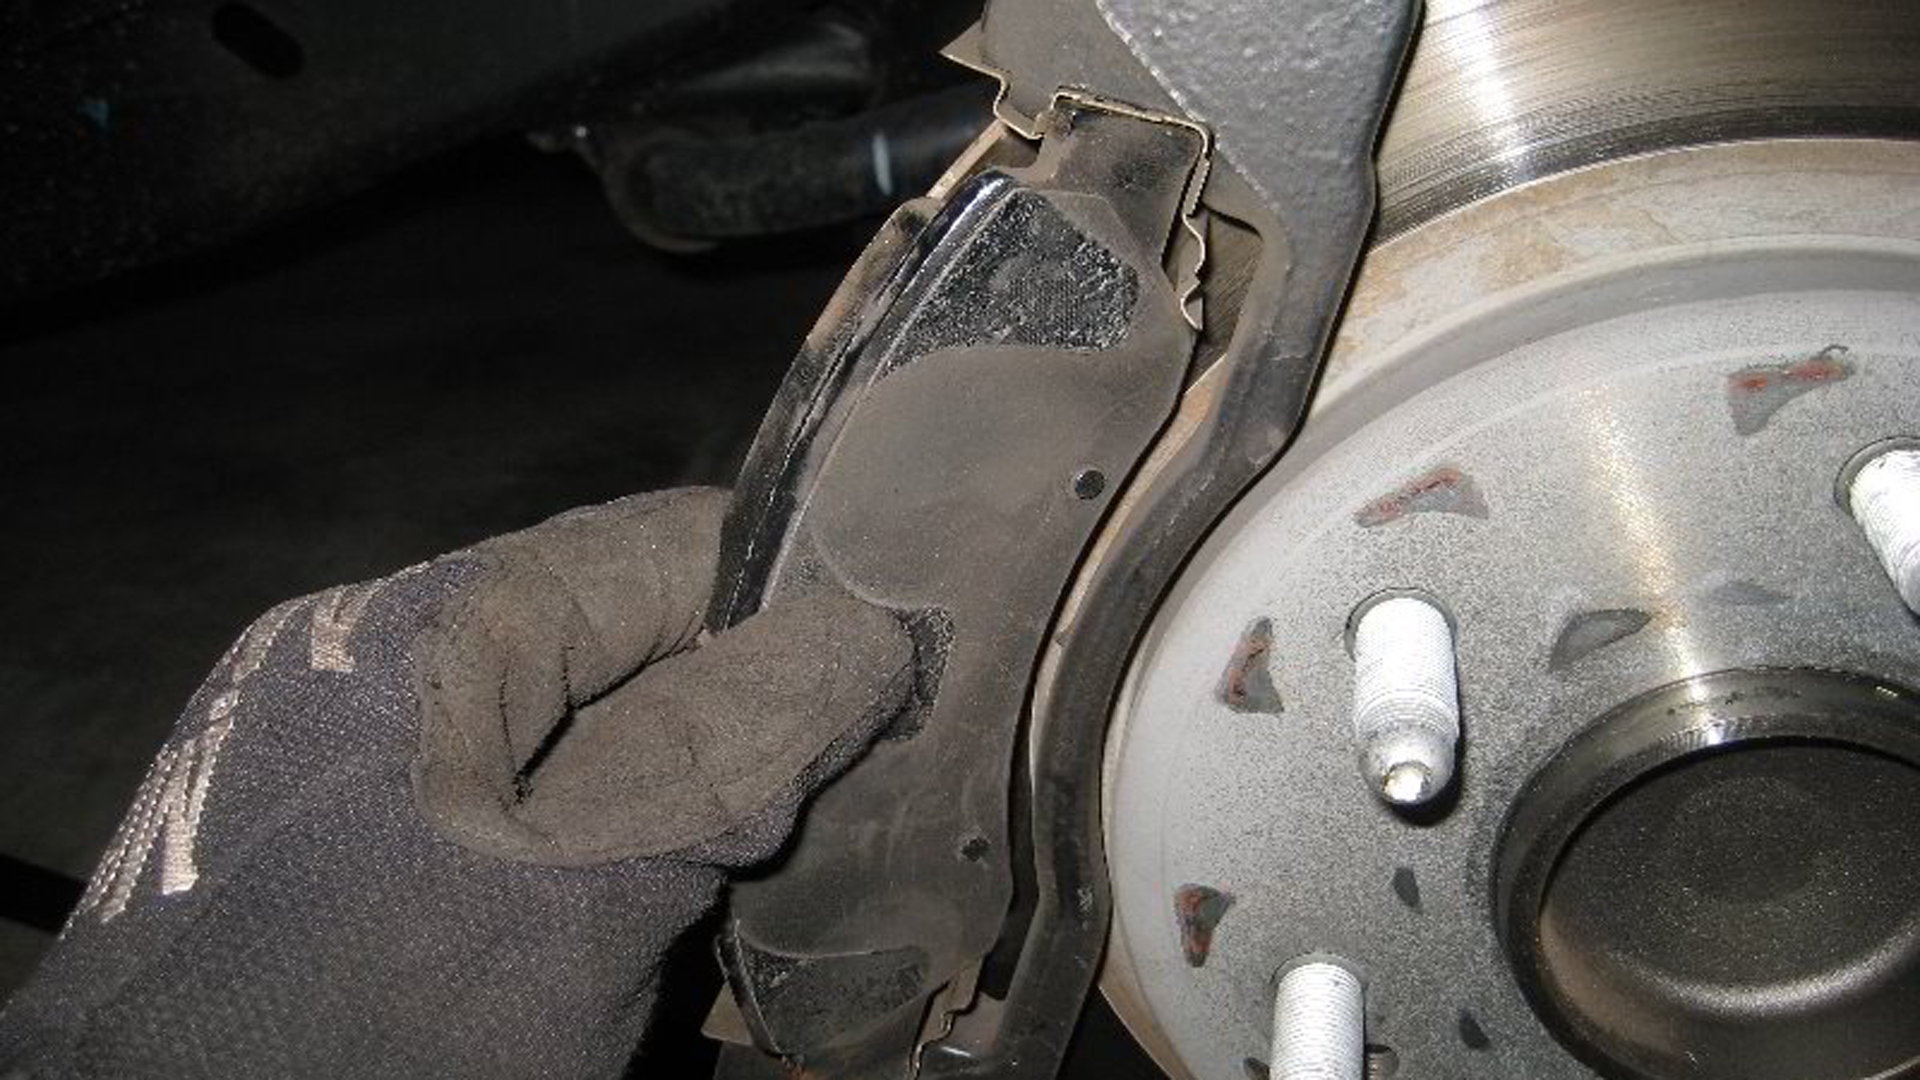
Step 4: Clean the Spindle Area
Before proceeding to replace your bearing, you’ll want to make sure the spindle area is clean. This region can often become saturated with debris (including grease and dirt) that can affect your new wheel bearings once you put them on if you’re not diligent about removing it. Use a clean, damp, soft rag to wipe the area down.
 Via ChevroletForum
Step 5: Install the New Hub Assembly
Gently pull the old hub assembly out, then use a pair of pliers to squeeze the pins on the back of the hub to release them from the clips holding them in place.
Use a wire brush to clean the steering knuckle, then grease up the hub flange, put the hub through the backing plate, attach the clips and slide the whole thing onto the axle. Now you’re ready to start reassembling your truck’s wheels.
Step 6: Replace the Hub Bolts
Insert the bolts from the back side. Start all three before starting any of them, then tighten them up evenly and torque them to 133 ft lbs (the exact amount of torque may vary between different model years so be sure to consult your owners manual).
 Via Amazon
Step 7: Reconnect the ABS Sensor Cable
Next, place the ABS sensor back in place and reconnect it.
Step 8: Mount the Brake Rotor and Replace the Torx Screw
Free the calliper, then reinstall the rotor and put one lug nut on to hold it in place as you put the brakes back together.
Step 9: Mount the Calliper Bracket
Place the calliper bracket in its original position, then start the two bolts that secure it and use a torque wrench to tighten them up to 100 ft lbs each.
 Via ChevroletForum
Step 10: Install Brake Pads on the Brake Calliper
Grease the ends of the pads where they’ll sit in the calliper brackets using brake grease.
Clean off your brakes using mineral spirits (or even gasoline).
Put the rear pad in first, pressing in one side and then the other. Repeat this process with the front pad.
Step 11: Remount the Brake Calliper
Once the inner brake pads are back in, use a large C-clamp to put the brake callipers back in (the pistons should go back into the calliper during this process).
If the slide bolts get stuck while you’re remounting the calliper, push them in so the calliper can slide in properly. Then start the two bolts that hold it in and torque them to approximately 50 ft lbs each.
Step 12: Remount the Wheel
Put the wheel back on, place the lug nuts back in by hand, and then tighten them. Then put the centre bolt back on and tighten it to 156 ft lbs. Torque the lug nuts to 110 ft lbs each using a crossing pattern, then place the centre cap into its groove in the middle of the wheel.
Step 13: Lower the Truck Back to the Ground
Use the jack to gently and slowly lower your truck back down to the floor. Once the truck is on the ground again, pump the brakes a few times to make sure everything seems to be working properly again.
Video Walkthrough for Replacing Bearings on Chevy Silverado 1500
Need more of a visual aide to get started replacing the wheel bearings for your 07–13 Chevy Silverado 1500? Check out the video below:
Investing in High-Quality Bearings & Hub Assemblies for Your Chevy Silverado 1500
The Chevy Silverado isn’t a delicate vehicle—you’ll want your truck to be able to stand up to anything the road throws at it, and that includes the bearings, which will be loaded with the truck’s entire weight and need to absorb friction as its wheels turn.
Make sure to order high-quality replacement wheel bearings for your 07–13 Chevy Silverado 1500 here, then use what you’ve learned above to replace your worn out bearings on your own. Questions about finding or installing the right product? Feel free to contact us for more information, and be sure to check out our other posts to keep learning about how wheel bearings work and when to replace them.
Share this
Explore more
Continue Reading


