Replacing a 1999 - 2006 Chevy Silverado 1500 (1st Generation) Wheel Bearing
Summary
- Your 1st generation Chevrolet Silverado 1500 needs replacement wheel bearings every 100,000 or so kilometers to keep absorbing the forces created when you drive it.
- Replacing the wheel bearing in your Silverado requires a jack and jack stands, a lug and torque wrench, a socket set, a bungee cord, a hammer, cloth, threadlocker, and an aftermarket hub designed to fit your truck. You may also want an impact gun.
- Go through the following steps to replace your old hub with a new one: jack the truck up, remove the brakes, take off the old hub, install the new one, reattach the brakes, and put the wheel back on. See torque specs and other details below.
Guide: Replacing a 1999 - 2006 Chevrolet Silverado 1500 (1st Generation) Wheel Bearing
The 1st generation of the Chevrolet Silverado 1500 lasted seven whole years—a testament to the reliability of this iconic vehicle. But while your Silverado was built to last, wear components like wheel bearings need to be changed out at regular intervals to keep it performing properly during everyday driving maneuvers.

Replacing Your Chevrolet Silverado 1500 Wheel Bearing & Hub Assemblies? Here is the part you need!
View productImage does not represent actual product
Get the part you need for your truck above, then read on for the steps you’ll need to follow if you want to install it by yourself. We’ll explain what tools you’ll need for the job, how to use them, and give you visual references so that you can get the job done right.
Why & When to Replace Your Silverado’s Wheel Bearings
The bearings in your truck are responsible for absorbing the forces you create by accelerating, cornering, and braking—all of which put strain on them over time. Dirt and grime from the road can also enter the hub eventually, causing the bearings to corrode. That’s why you’ll need to put in new ones every 100,000 miles or so.
There are also some warning signs that you might need to replace your wheel bearings urgently, even if you haven’t put 100,000 miles on them yet. Click the link below to learn more about those.
See also: 8 Signs You Have a Wheel Bearing Problem
Required Tools:
Changing out a wheel bearing on your Silverado 1500 isn’t too complicated. In fact, you can do the whole job with just:
- A jack and stands
- Lug wrench or impact gun
- Socket set and ratchet
- Torque wrench
- Brake caliper hanger or bungee cord
- Hammer
- Cloth
- Threadlocker
- New wheel bearing and hub assembly
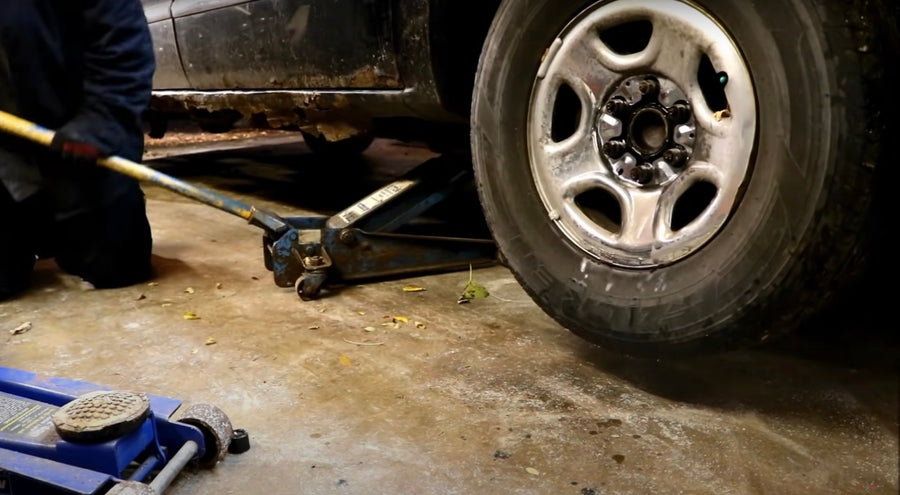
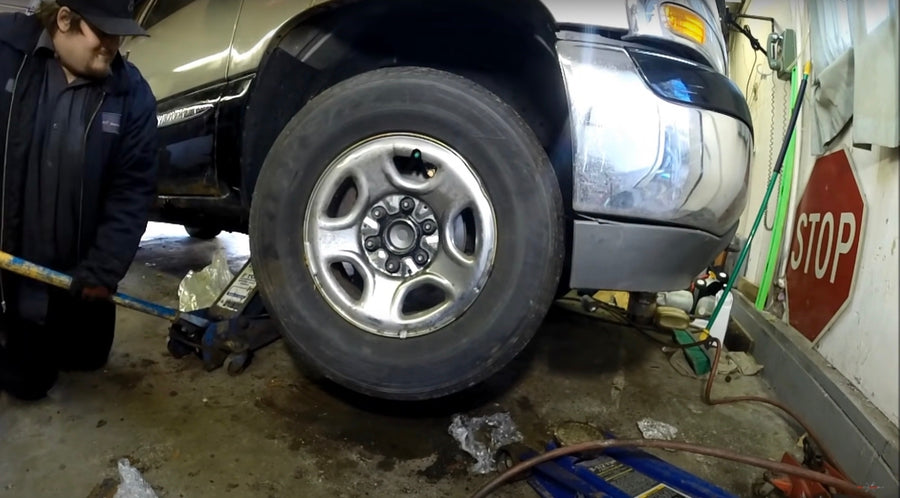
Step 1: Jack Up Your Truck & Remove the Wheel
Loosen the lug nuts on your wheel, then jack the truck up and support it safely on your jack stand. Then take out the lug nuts all the way, remove the wheel, and set it aside.
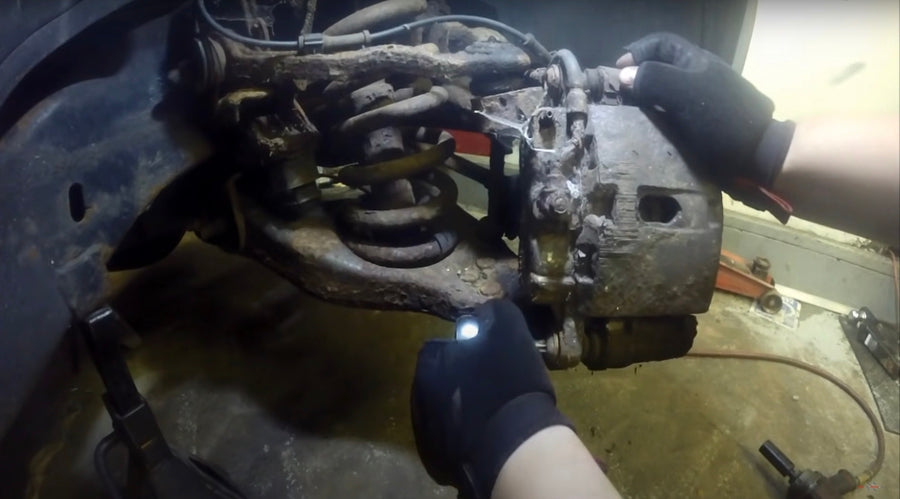
Step 2: Remove the Brakes
Use a T-55 torque socket to remove the brake caliper pins, then an 18mm socket to take the caliper bolts off. Once you’ve done that, you can use your prybar to help get the caliper off and hang it out of the way using your bungee cable. Once you’ve done that, take off the rotor.
Step 3: Disconnect the ABS Wire
You’ll find the main connector for your ABS wire near the body of your truck, where the cable runs in. Take it out, then remove the clips along the rest of the wire and move it out of the way.
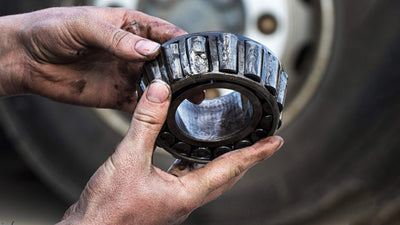
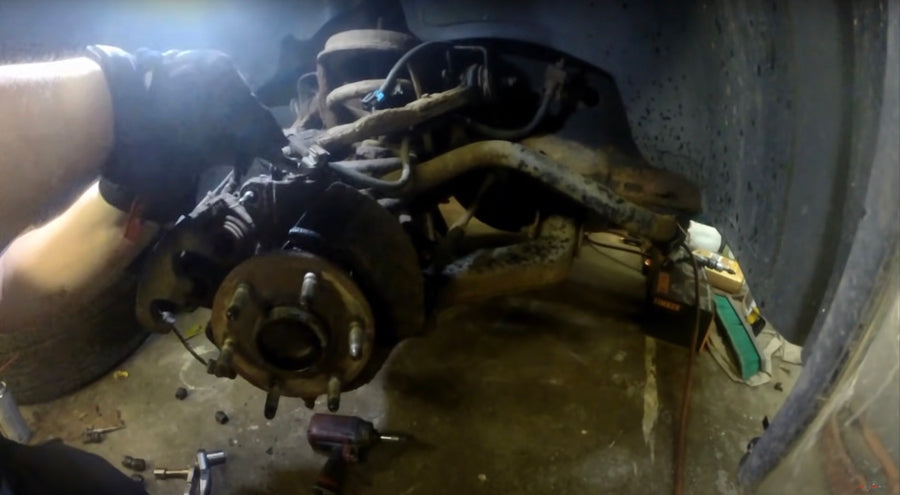
Step 4: Remove the Hub Assembly
You’ll want to take out the bolts holding the old hub in place with a 15mm socket. After this, you’ll most likely need to wrap your hammer in a cloth and tap the rear of the hub until it comes loose and can be removed by hand.
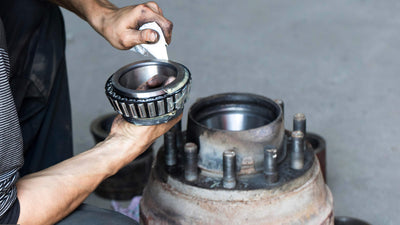
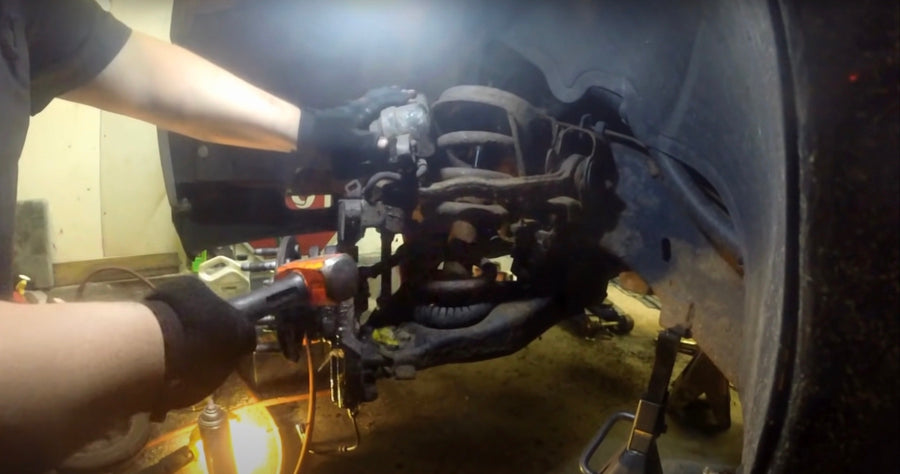
Step 5: Install the New Hub
Use 40 grit sandpaper to clean out any rust left behind after you’ve taken the old hub off. Once you’ve done that, use a thin coating of anti-seize on the hub center to make sure the new hub won’t get too badly stuck after you’ve put it on.
Put the brake shield in place, then slide the new bearing through and run the bolts through the rear. Snug them up individually, then torque each of them to 155 lb-ft (double check your owner’s manual, as specs for specific model years may vary).
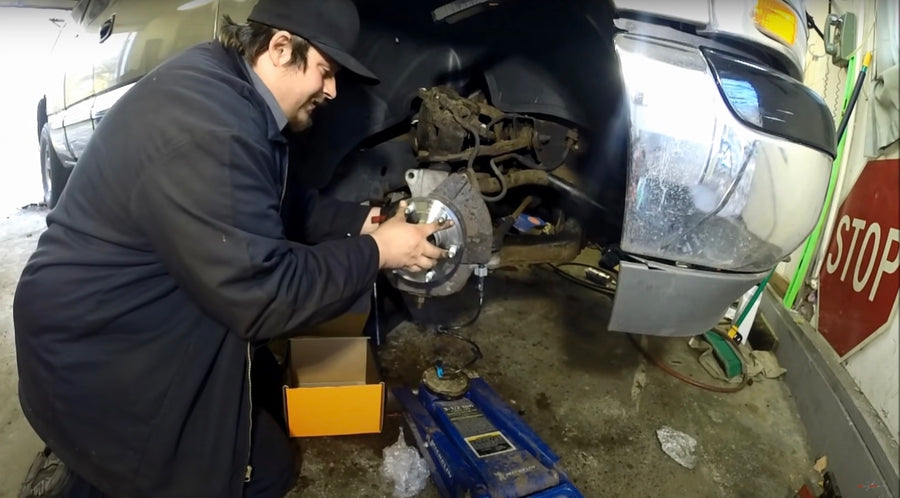
Step 6: Put the Brakes Back On
Reconnect your ABS wire and make sure the dust shield is on correctly—then slide the rotor back on (you may want to use a little anti-seize here as well to keep it from getting stuck in the future). Then put the caliper back on and torque each of the bolts holding it in place to 80 lb-ft.
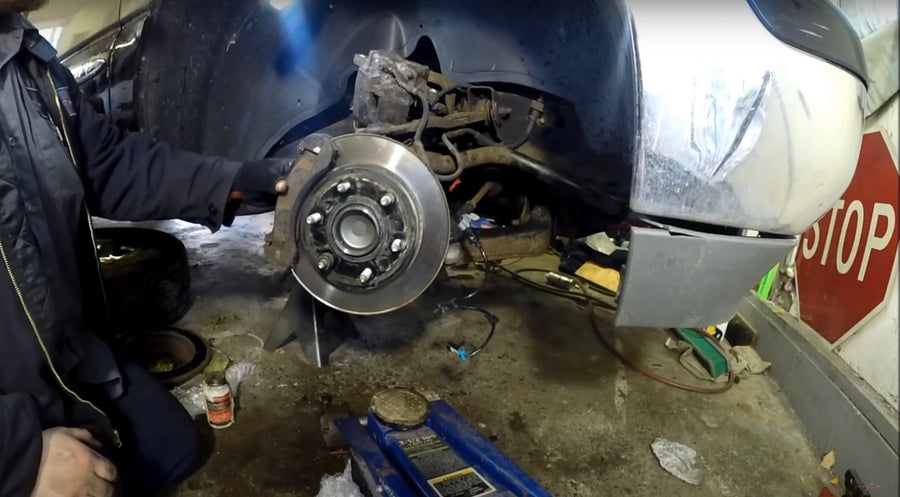
Step 7: Replace the Wheel
We’re almost done! All you need to do now is slide the wheel back on and secure the lug nuts. Start each of them, then torque them in a criss-cross pattern to 140 lb-ft each. Finish by lowering your Silverado back to the ground and pumping the brakes several times to make sure they work before you start it up and take it for a drive.
Video Walkthrough
If you need a visual reference for the steps above, check out this video we found showing how to replace the hub on your gen 1 Silverado 1500 here:
Give Your 1st Generation Silverado 1500 the Performance it Deserves
With our high-quality replacement parts and this guide, you should have no trouble replacing the front wheel bearing on your gen 1 Silverado 1500. To have questions about this part or any of the others we sell answered, contact us now and speak with an expert who can provide you with the details you need.
Share this
Explore more
Continue Reading