Guide: Replacing a 1999 - 2006 GMC Sierra 1500 (1st Generation) Wheel Bearing
Summary:
- Your 1st gen GMC Sierra 1500 needs new wheel bearings around every 100,000 miles so that it can continue absorbing the friction created by your driving.
- To replace the wheel bearing in your 1st gen Sierra, you’ll need a few tools—including a jack and stands, a lug wrench or impact gun, a socket set, a torque wrench, a bungee cord, a hammer, cloth, threadlocker, and an aftermarket wheel hub compatible with your truck.
- Follow these steps to complete the replacement: jack up your truck, take off the brakes, remove the old hub, slide on and secure the new one, reattach the brakes, and replace the wheel. Read below for more details and required torque specs.
The 1st generation Sierra 1500, renowned for its reliability, robust performance, and impressive hauling capabilities, is a vehicle worth keeping in good shape for as long as possible. As part of that maintenance, you'll need to replace its wheel bearings at some point. This guide is here to assist you with that task.
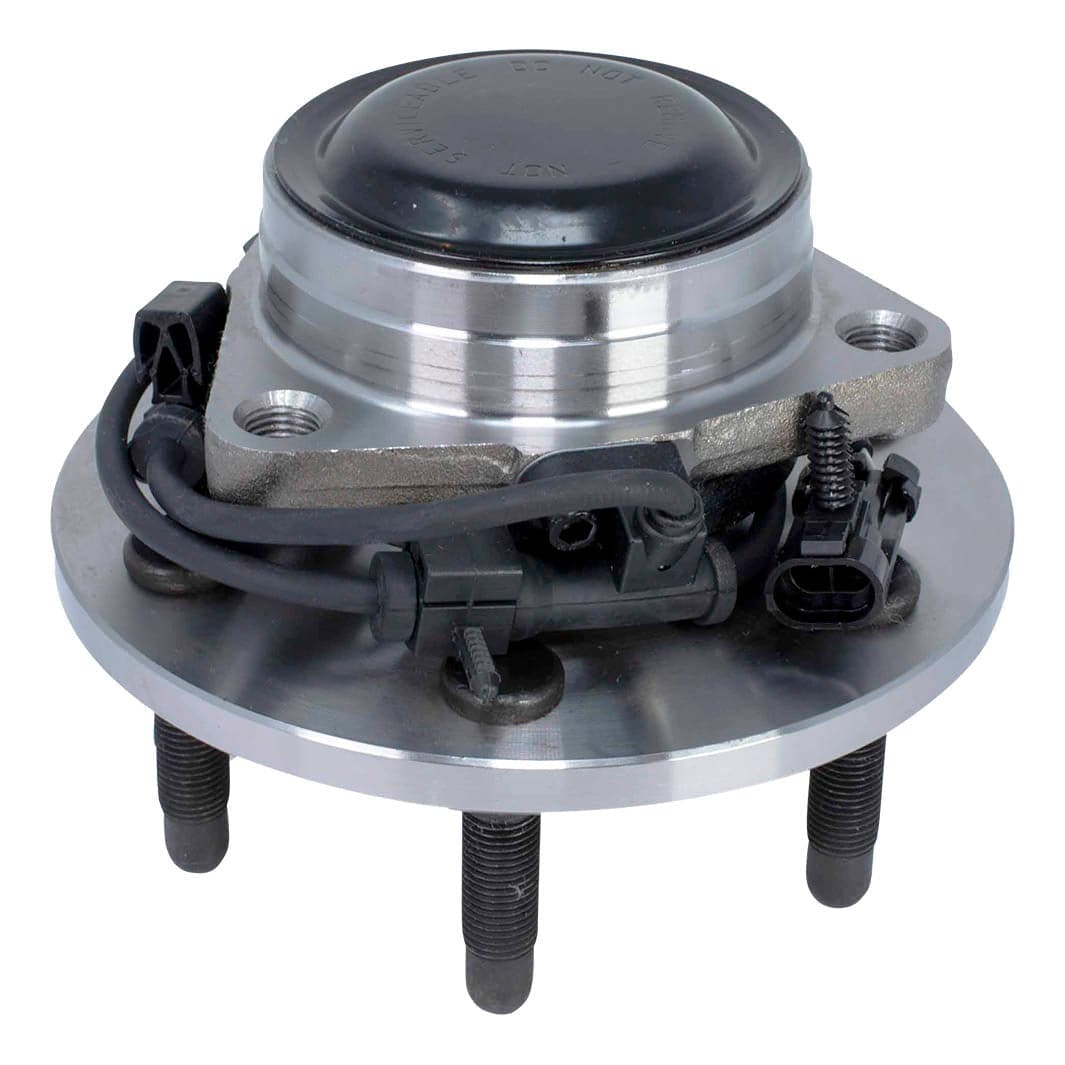
Replacing Your 1999 - 2006 GMC Sierra 1500 (1st Generation) Wheel Bearing & Hub? This is the part you need!
View productImage does not represent actual product
After purchasing your new wheel bearing using the above link, you can use the following steps to install it in your Sierra. This guide will inform you about the necessary tools and detailed instructions for each step.
Why Replace Your Wheel Bearings (& When)?
When you drive, your truck's wheel bearings absorb the forces generated. Over time, these bearings may deteriorate, causing steering, braking, and acceleration problems.
You shouldn’t wait until problems become evident—instead, you should replace your bearings at least once every 100,000 miles. However, if you notice performance issues earlier, it's a good idea to replace the bearings immediately.
See also: 8 Signs You Have a Wheel Bearing Problem
Required Tools:
To replace a wheel bearing in your 1st gen Sierra 1500, you’ll need:
- A jack and stands
- A screwdriver
- Lug wrench or impact gun
- Socket set and ratchet
- A wire brush
- Torque wrench
- Brake caliper hanger or bungee cord
- Hammer
- Cloth
- Threadlocker
- New wheel bearing and hub assembly
Step 1: Jack Up Your Truck & Remove the Wheel
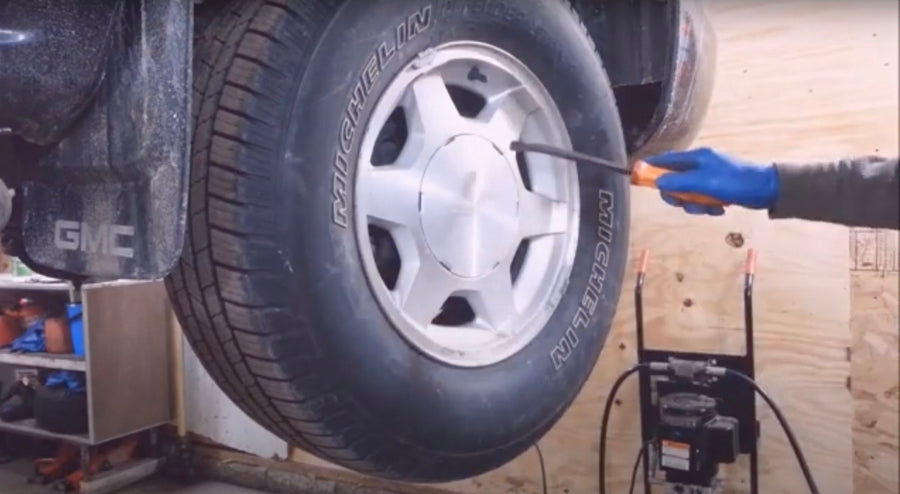
Start by loosening the lug nuts on the wheel, which will prevent it from spinning as you work. Then, use your jack and stands to elevate the truck and use your screwdriver to pry the center of the hubcap off. Then use a 22mm socket to fully remove the lug nuts and take off the wheel.
Via Rust Belt Auto on YouTube.
Step 2: Remove the Brakes
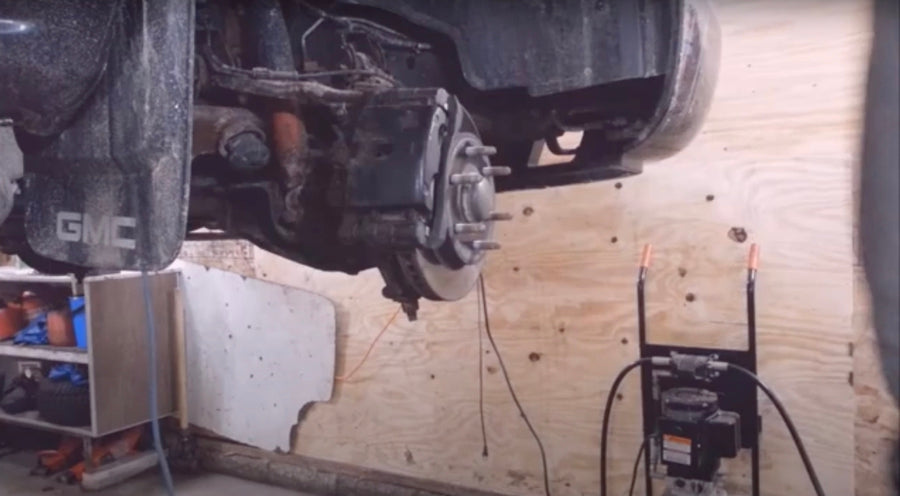
Gently pry the ABS wire out of the bracket holding it in place with your screwdriver or prybar, then use a 10mm socket to disconnect it and move it out of the way. Then use an 18mm socket to remove the bolts holding the caliper bracket in place, slide it off the knuckle, and hang it to one side with your hanger or bungee cord before taking off the whole rotor.
Via Rust Belt Auto on YouTube.
Step 3: Remove the Wheel Bearing
Remove the cap over the axle nut with a screwdriver and take the nut off with a 36mm socket. Three 15mm bolts are holding the old hub in place—take them out, rotate the knuckle out from the body, and finish disconnecting the ABS wire.
Once you’ve done all that, tap the old wheel bearing from the back with a hammer wrapped in a cloth until it comes free (for the best results, tap around the hub rather than just one spot to loosen it evenly).

Via Rust Belt Auto on YouTube.
Step 4: Install the New Hub
Before you put the new hub on, clean the installation area with a wire brush or compressed air. The cleaner the mating surface, the less likely your new bearing will fail prematurely. Some brake cleaner might also be helpful.
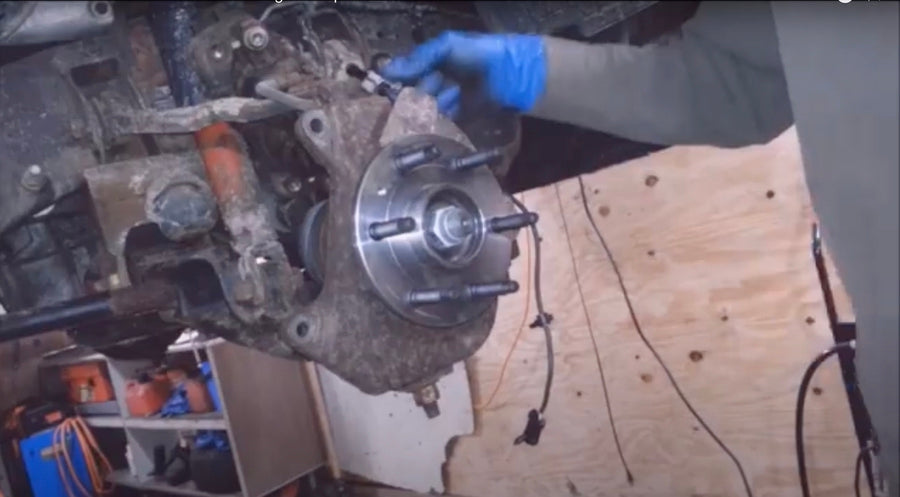
Put the backing plate on with the hole for the ABS sensor towards the tie-rod. Once you’ve got everything lined up properly, push the hub onto the axle all the way, making sure it lines up with the splines. Then insert your bolts, and torque them to 133 lb-ft each. Torque the axle nut to 155 lb-ft as well, and put the cap back on afterwards.
Via Rust Belt Auto on YouTube.
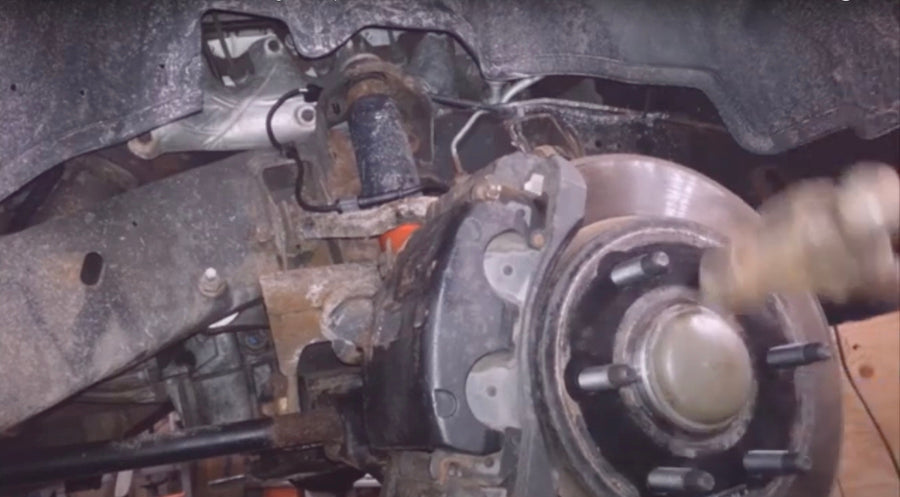
Step 5: Put the Brakes Back On
Put the ABS wire back at its mounting location. Then replace the caliper bracket and secure the 18mm bolts holding it in place.
Via Rust Belt Auto on YouTube.
Step 6: Replace the Wheel
Start your lug nuts, then use your 22mm socket to snug them in a star pattern. Once done, torque them to 140 lb-ft each. The last thing you need to do is lower your truck back onto the ground and pump the brakes a few times to ensure they're working correctly before you drive.
Video Walkthrough
For a visual guide to assist you in replacing your 1st gen Sierra 1500’s wheel bearing, check out this video:
Keep the Wheels Turning on Your 1st Generation Sierra 1500
The above steps simplify the process of replacing the wheel hub on your 1st Generation Sierra 1500 without the need for professional help or complex tools. To learn more about getting reliable wheel bearings for your truck, contact our team to have one of our experts answer your questions.


