Guide: Replacing a 2014 - 2018 GMC Sierra 1500 (3rd Generation) Wheel Bearing
Summary:
- Your 3rd gen GMC Sierra 1500 needs new wheel bearings every 100,000 miles or so if you want it to continue handling the forces created while you drive it.
- To replace the wheel bearing in your 3rd gen Sierra, you’ll need some tools—including a jack and stands, a lug wrench or impact gun, a socket set, a torque wrench, a bungee cord, a hammer, cloth, threadlocker, and an aftermarket wheel hub that fits your truck.
- Complete your replacement by following these steps: jack up your truck, remove the brakes, take off the old hub, slide on and secure the new one, replace the brakes, and put the wheel back on. Read below for more details and get specific torque specs for your vehicle.
The 3rd generation Sierra is known for its comfortable interior, reliability, and overall sturdiness. But to maintain this trusty vehicle's performance for as long as possible, replacing its wheel bearings at some point is a must. Fortunately, we’re here to guide you through that process.
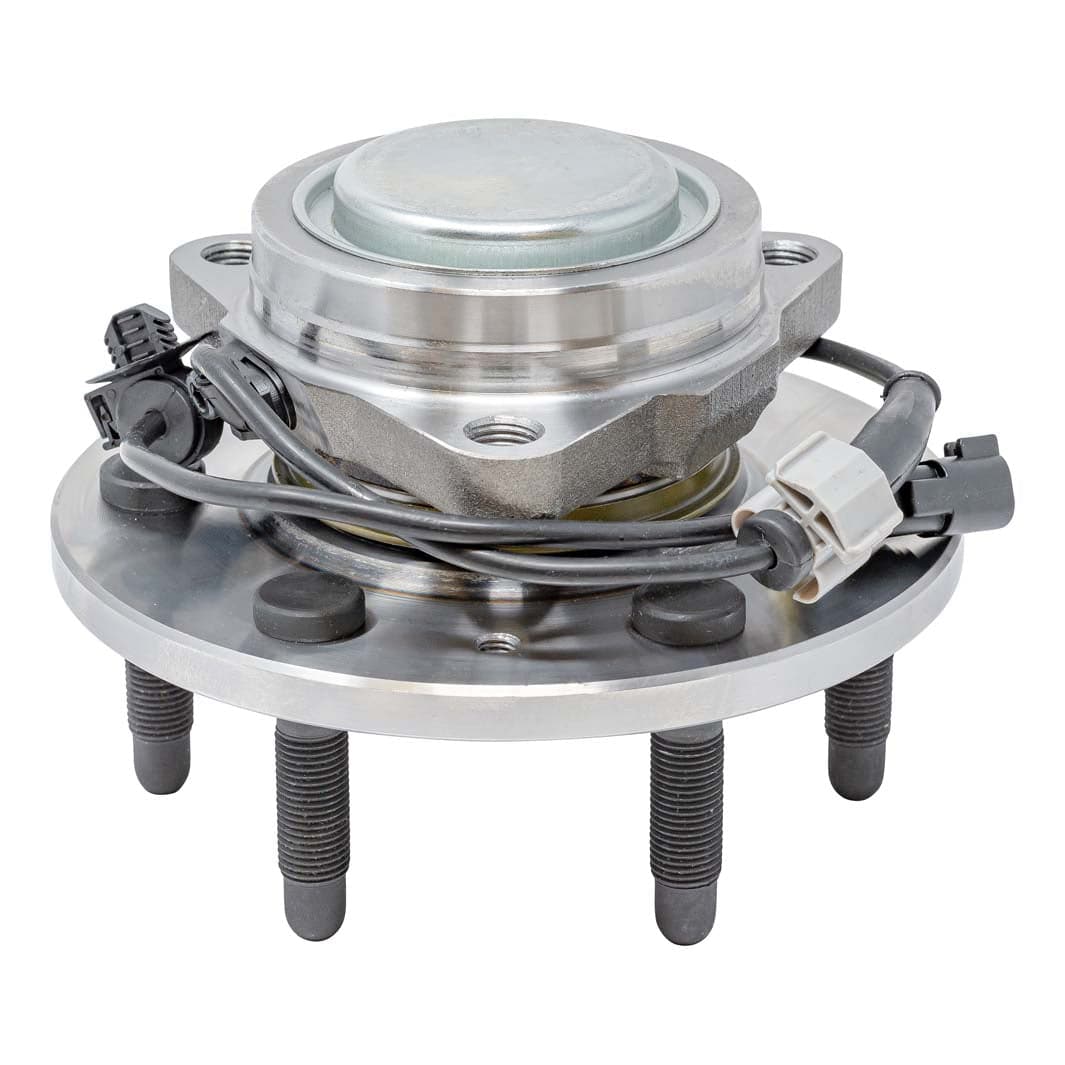
Replacing Your 2014 - 2018 GMC Sierra 1500 (3rd Generation) Wheel Bearing & Hub? This is the part you need!
View productImage does not represent actual product
Once you’ve got your new wheel bearing through the link above, follow the steps we’ve laid out below to install it in your Sierra. We’ll also walk you through the tools you'll need and give exact instructions for each step.
Why (& When) You Should Replace Your Wheel Bearings
Wheel bearings absorb the forces generated when you drive your truck. Over time, these bearings may fail, affecting its steering, braking, and acceleration.
Don't wait for that to happen. Instead, make a point to replace your bearings at least once every 100,000 miles. However, if you start having trouble with your bearings earlier, it's advisable to replace them as soon as you can.
See also: 8 Signs You Have a Wheel Bearing Problem
Required Tools:
To replace a wheel bearing in your 3rd gen Sierra 1500, you’ll need:
- A jack and stands
- Lug wrench or impact gun
- Socket set and ratchet
- Torque wrench
- Brake caliper hanger or bungee cord
- Hammer
- Cloth
- Threadlocker
- New wheel bearing and hub assembly
Step 1: Jack Up Your Truck & Remove the Wheel
First, loosen the lug nuts on the wheel to prevent it from spinning while you work. Then, use your jack and stands to lift the truck. Once secure, completely remove the lug nuts with a 22mm socket and take off the wheel.

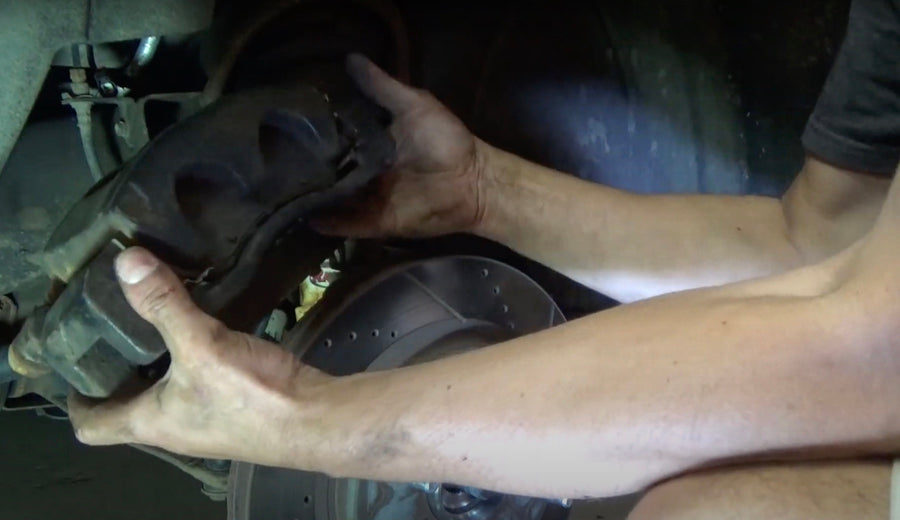
Step 2: Remove the Brakes
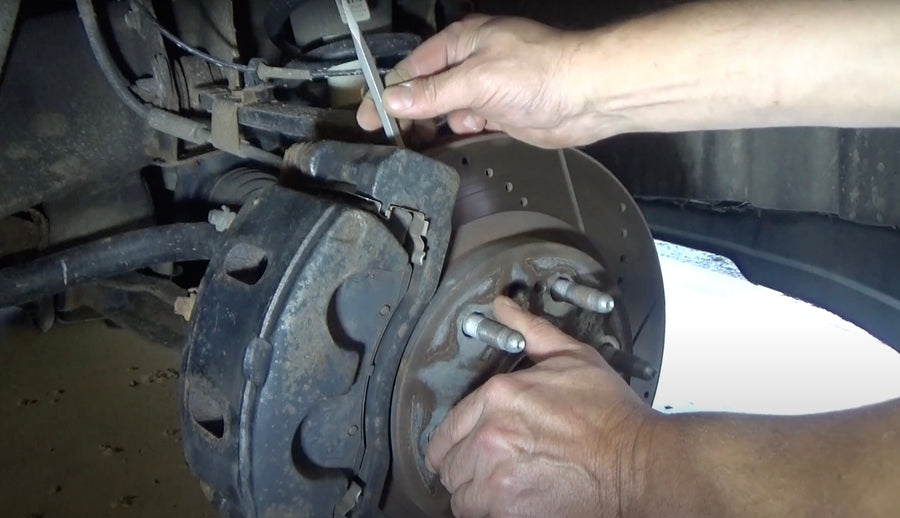
Remove the cover over the 35mm hub nut and take it off (we suggest using an impact gun if you’ve got one). After that, you'll find two 18mm bolts securing the brake caliper bracket. Remove these with your socket, then slide off the caliper and suspend it nearby with your bungee cord.
Next, remove the rotor by removing the T-30 Torx bit holding it to the hub. Then remove the ABS sensor wire from the hub assembly and detach it from the connection point.
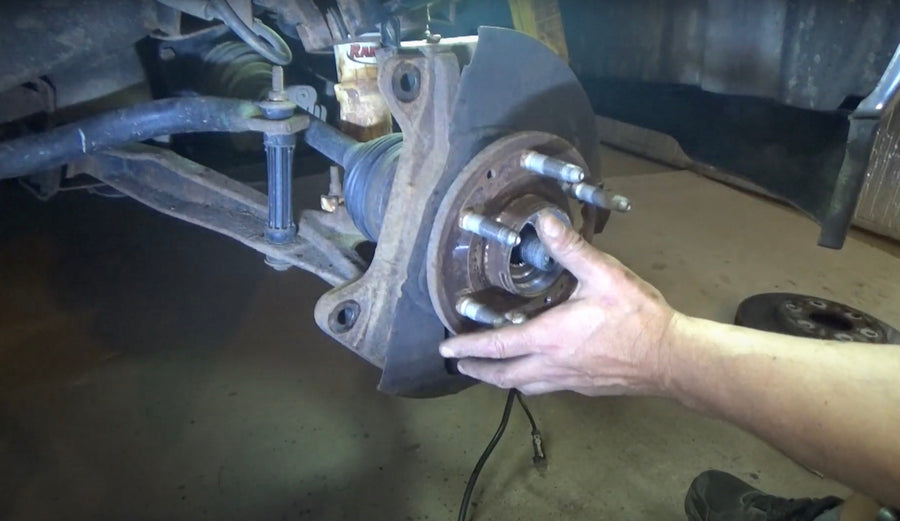
Step 3: Remove the Wheel Bearing
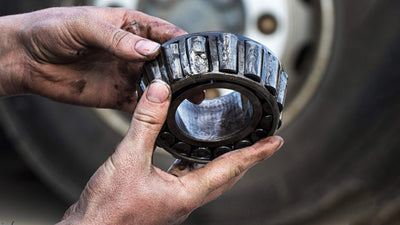
Use your 35mm socket to remove the axle nut and a 15mm socket for the three bolts at the rear of the wheel knuckle. Once you’ve done this, you can tap the old wheel bearing from behind with a hammer wrapped in a cloth. For the best result, tap around the entire hub rather than just one spot to loosen it evenly. After some time, the bearing should come off.
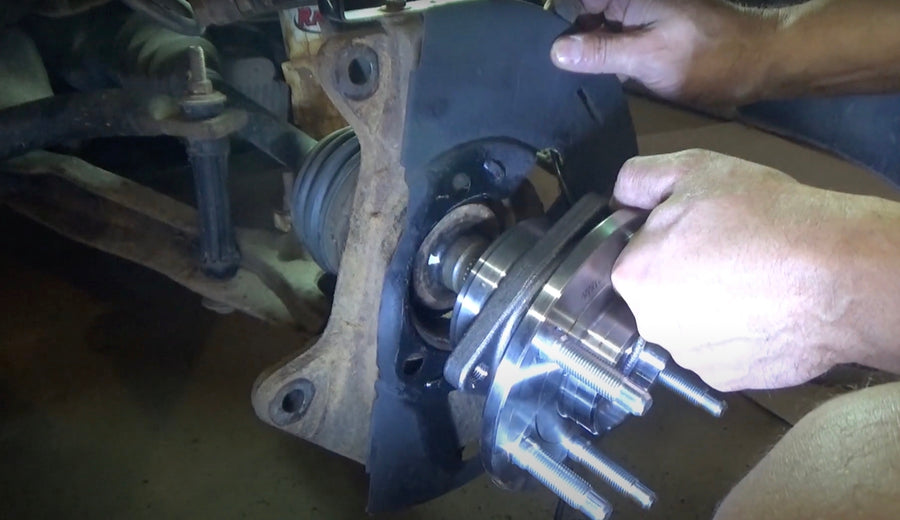
Step 4: Install the New Hub
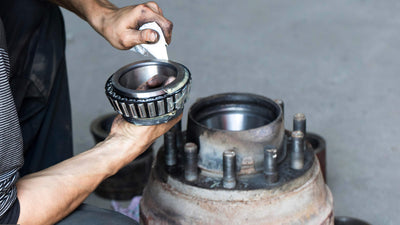
Before installing the new hub, clean the installation area using a wire brush or compressed air. The less debris left between the mating surface and the bearing, the lower the chance of premature failure of your new bearing. Consider using some brake cleaner as well.
Install the new bearing by lining it up with the old dust shield and then threading the ABS wire through both before sliding the hub onto the axle. Begin the first 15mm bolt at the rear of the new bearing by hand, then align the others and tighten them to 133 lb-ft each.
Step 5: Put the Brakes Back On
Reinstall the ABS wire at the shock mount, then replace the rotor. Replace the T-30 Torx bits, then snug the caliper bracket bolts and tighten them with your 18mm socket. Replace the axle nut and torque it down to 188 lb-ft.
Step 6: Replace the Wheel
Start your lug nuts, then use your 22mm socket to tighten them in a criss-cross pattern. Once done, torque them to 140 lb-ft each. Finally, lower your truck back onto the ground and pump the brakes several times to ensure they're functioning before you drive.
Video Walkthrough
For a visual reference to assist you in replacing your 3rd gen Sierra 1500’s wheel bearing, check out this video:
Keep on Truckin’ in Your 3rd Generation Sierra 1500
The steps above simplify the process of replacing the wheel hub on your 3rd Generation Sierra 1500 so that you can do it without fancy tools or expert help. To learn more about sourcing reliable wheel bearings for your truck, reach out to our team and get help from one of our experienced team members.
Share this
Continue Reading