Replacing a 2014 - 2018 Chevrolet Silverado 1500 (3rd Generation) Wheel Bearing
Summary
- Your 3rd gen Chevrolet Silverado 1500 needs new wheel bearings every 100,000 miles or so to keep absorbing the friction created by your daily driving maneuvers.
- To replace the wheel bearing in your 3rd gen Silverado, you’ll need a jack and stands, a lug wrench or impact gun, a socket set, a torque wrench, a bungee cord, a hammer, cloth, threadlocker, and an aftermarket wheel hub compatible with your truck.
- Follow these steps to complete the replacement: jack up your truck, take off the brakes, remove the old hub, slide on and secure the new one, reattach the brakes, and replace the wheel. Read below for more details (including torque specs).
Guide: Replacing a 2014 - 2018 Chevrolet Silverado 1500 (3rd Generation) Wheel Bearing
With its comfy cabin, powerful performance, and beefy hauling capabilities, the 3rd generation Silverado is a vehicle you’ll want to keep on the road as long as possible. But to do that, you’ll need to replace its wheel bearings eventually—and when you do, we’re here to help.

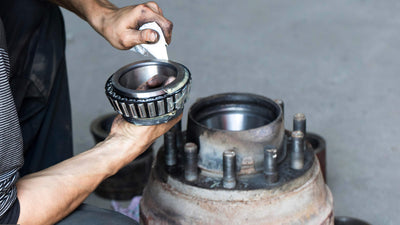
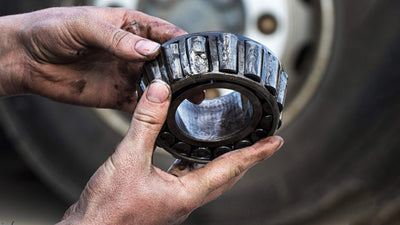
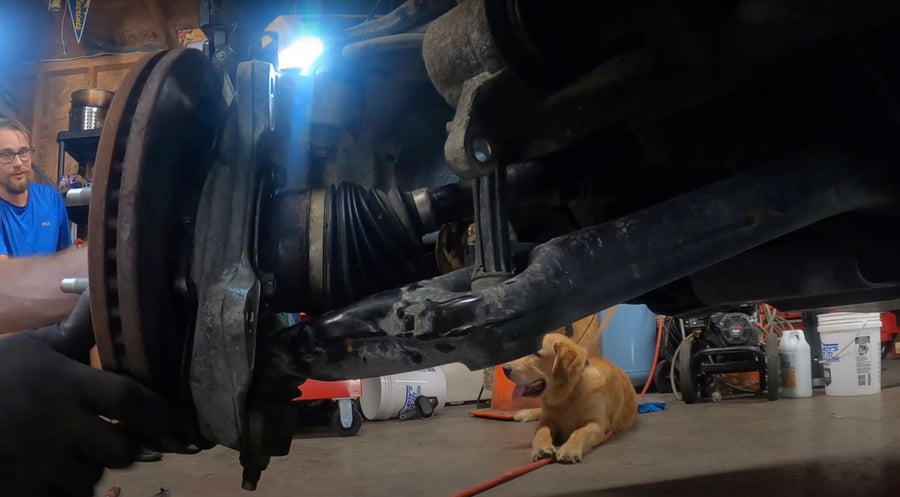
Replacing Your 2014 - 2018 Chevrolet Silverado 1500 (3rd Generation) Wheel Bearing? This is the part you need!
View productImage does not represent actual product
Once you’ve picked up your new wheel bearing using the link above, you can follow the steps below to install it in your truck all by yourself. Keep reading to learn all about what tools you’ll need for the job and see the details for each step.
Why Do Wheel Bearings Need to Be Replaced (& When Should You Do It)?
When you drive, the forces created by your truck are absorbed by its wheel bearings. Eventually, those bearings can fail, causing steering, braking, and accelerating problems.
Don’t wait until you start noticing signs of trouble—instead, replace your bearings at least once every 100,000 miles. Of course, if you happen to notice performance issues before then, you should go ahead and replace the bearings anyway.
See also: 8 Signs You Have a Wheel Bearing Problem
Required Tools:
To replace a wheel bearing in your 3rd gen Silverado 1500, you’ll need:
- A jack and stands
- Lug wrench or impact gun
- Socket set and ratchet
- Torque wrench
- Brake caliper hanger or bungee cord
- Hammer
- Cloth
- Threadlocker
- New wheel bearing and hub assembly
Step 1: Jack Up Your Truck & Remove the Wheel
Loosen the lug nuts on the wheel to stop it from spinning while you work. Then, using your jack and jack stands, get the truck up off the ground. When it’s secure, take the lug nuts off completely with a 22mm socket and remove the wheel.

Step 2: Remove the Brakes
There are two 19mm bolts holding the brake caliper in place. You’ll want to remove those with the corresponding socket or an impact gun, then slide the caliper off and hang it out of the way with your bungee cord.
There are also 2 18mm caliper bracket bolts you’ll need to take out. Do that, then remove the rotor. If you have a blowtorch in your garage, you may want to apply some heat to the screw holding it in place to prevent stripping before you take the rotor off.
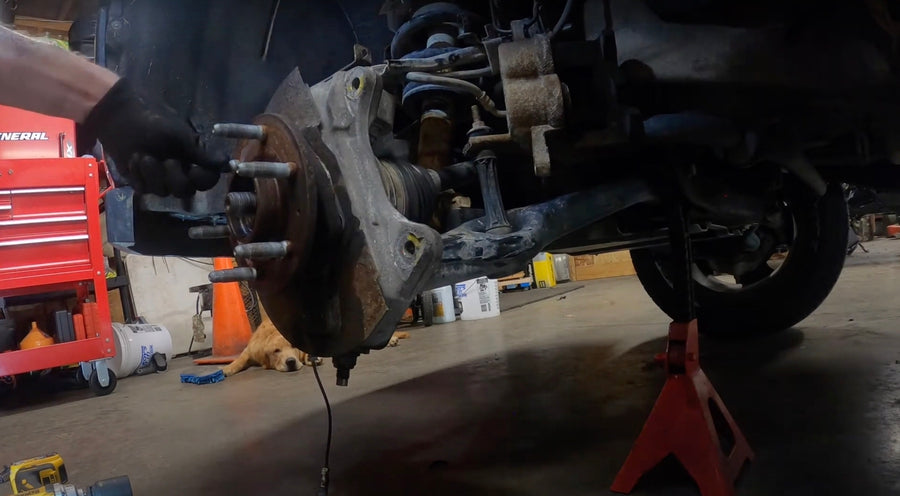
Step 3: Remove the Wheel Bearing
Use a 35mm socket to remove the axle nut, then a 15mm socket to remove the three bolts on the rear of the wheel knuckle. You’ll also want to disconnect the ABS wire at the top of the shock mount.
Once all that’s done, tap the old wheel bearing from behind with a hammer wrapped in cloth. For best results, tap all the way around the hub instead of just in one spot to get it loose evenly. Once you’ve done this for a little while, the bearing should come right off.
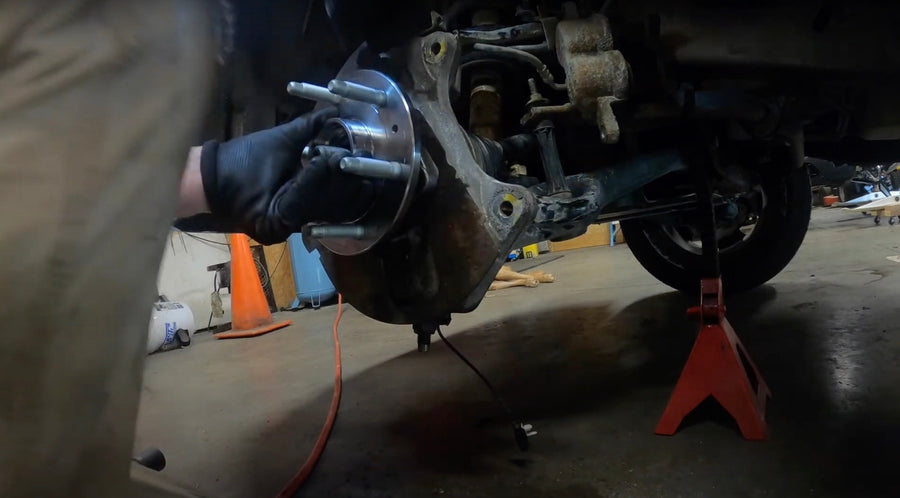
Step 4: Install the New Hub
Before putting the new hub on, you’ll want to clean the installation location with a wire brush or some compressed air (if you have a compressor). The less debris you leave between the mating surface and the bearing, the less likely your new bearing will be to fail early. You may also want to spray in some brake cleaner for good measure.
Put the new bearing on by feeding the old dust shield through it, then feeding the ABS wire through the dust shield and sliding the new bearing in place. Hand start the first 15mm bolt on the rear of the new bearing, then line up the others and snug them to 133 lb-ft each. Torque down the axle nut to 177 lb-ft.
Step 5: Put the Brakes Back On
Reinstall the ABS wire at the shock mount, then replace the rotor. Use your 18mm socket to replace the caliper bracket bolts, then put the caliper back on and tighten the bolts holding it in place with a 19mm socket.
Step 6: Replace the Wheel
Start your lug nuts, then use your 22mm socket to snug them in a criss-cross pattern. Once that’s done, torque them to 140 lb-ft each. That’s pretty much it—the last thing you’ll need to do is lower your truck back down to the ground and pump the brakes several times to make sure they’re functioning before you drive.
Video Walkthrough
For a visual reference to help guide you through the steps involved in replacing your 3rd gen Silverado 1500’s wheel bearing, check out this video:
Keep the Wheels Turning on Your 3rd Generation Silverado 1500
The steps above make it easy to replace the wheel hub on your 3rd Generation Silverado 1500 without professional help or advanced tools. Learn more about getting wheel bearings you can trust for your truck by contacting our team and having one of our experts answer your questions.
Share this
Explore more
Continue Reading